Workflow Designer in Blazor application
Overview
In this article, we will create a simple Blazor application and integrate Workflow Designer into it.
You can find the code from this guide in the GitHub repository.
Let's start by creating an application using the blazorserver template.
mkdir workflow-designer-blazor
cd workflow-designer-blazor
dotnet new blazorserver
We can run this application using the dotnet watch command and modify its code on the fly. This is a great feature of the dotnet CLI! If
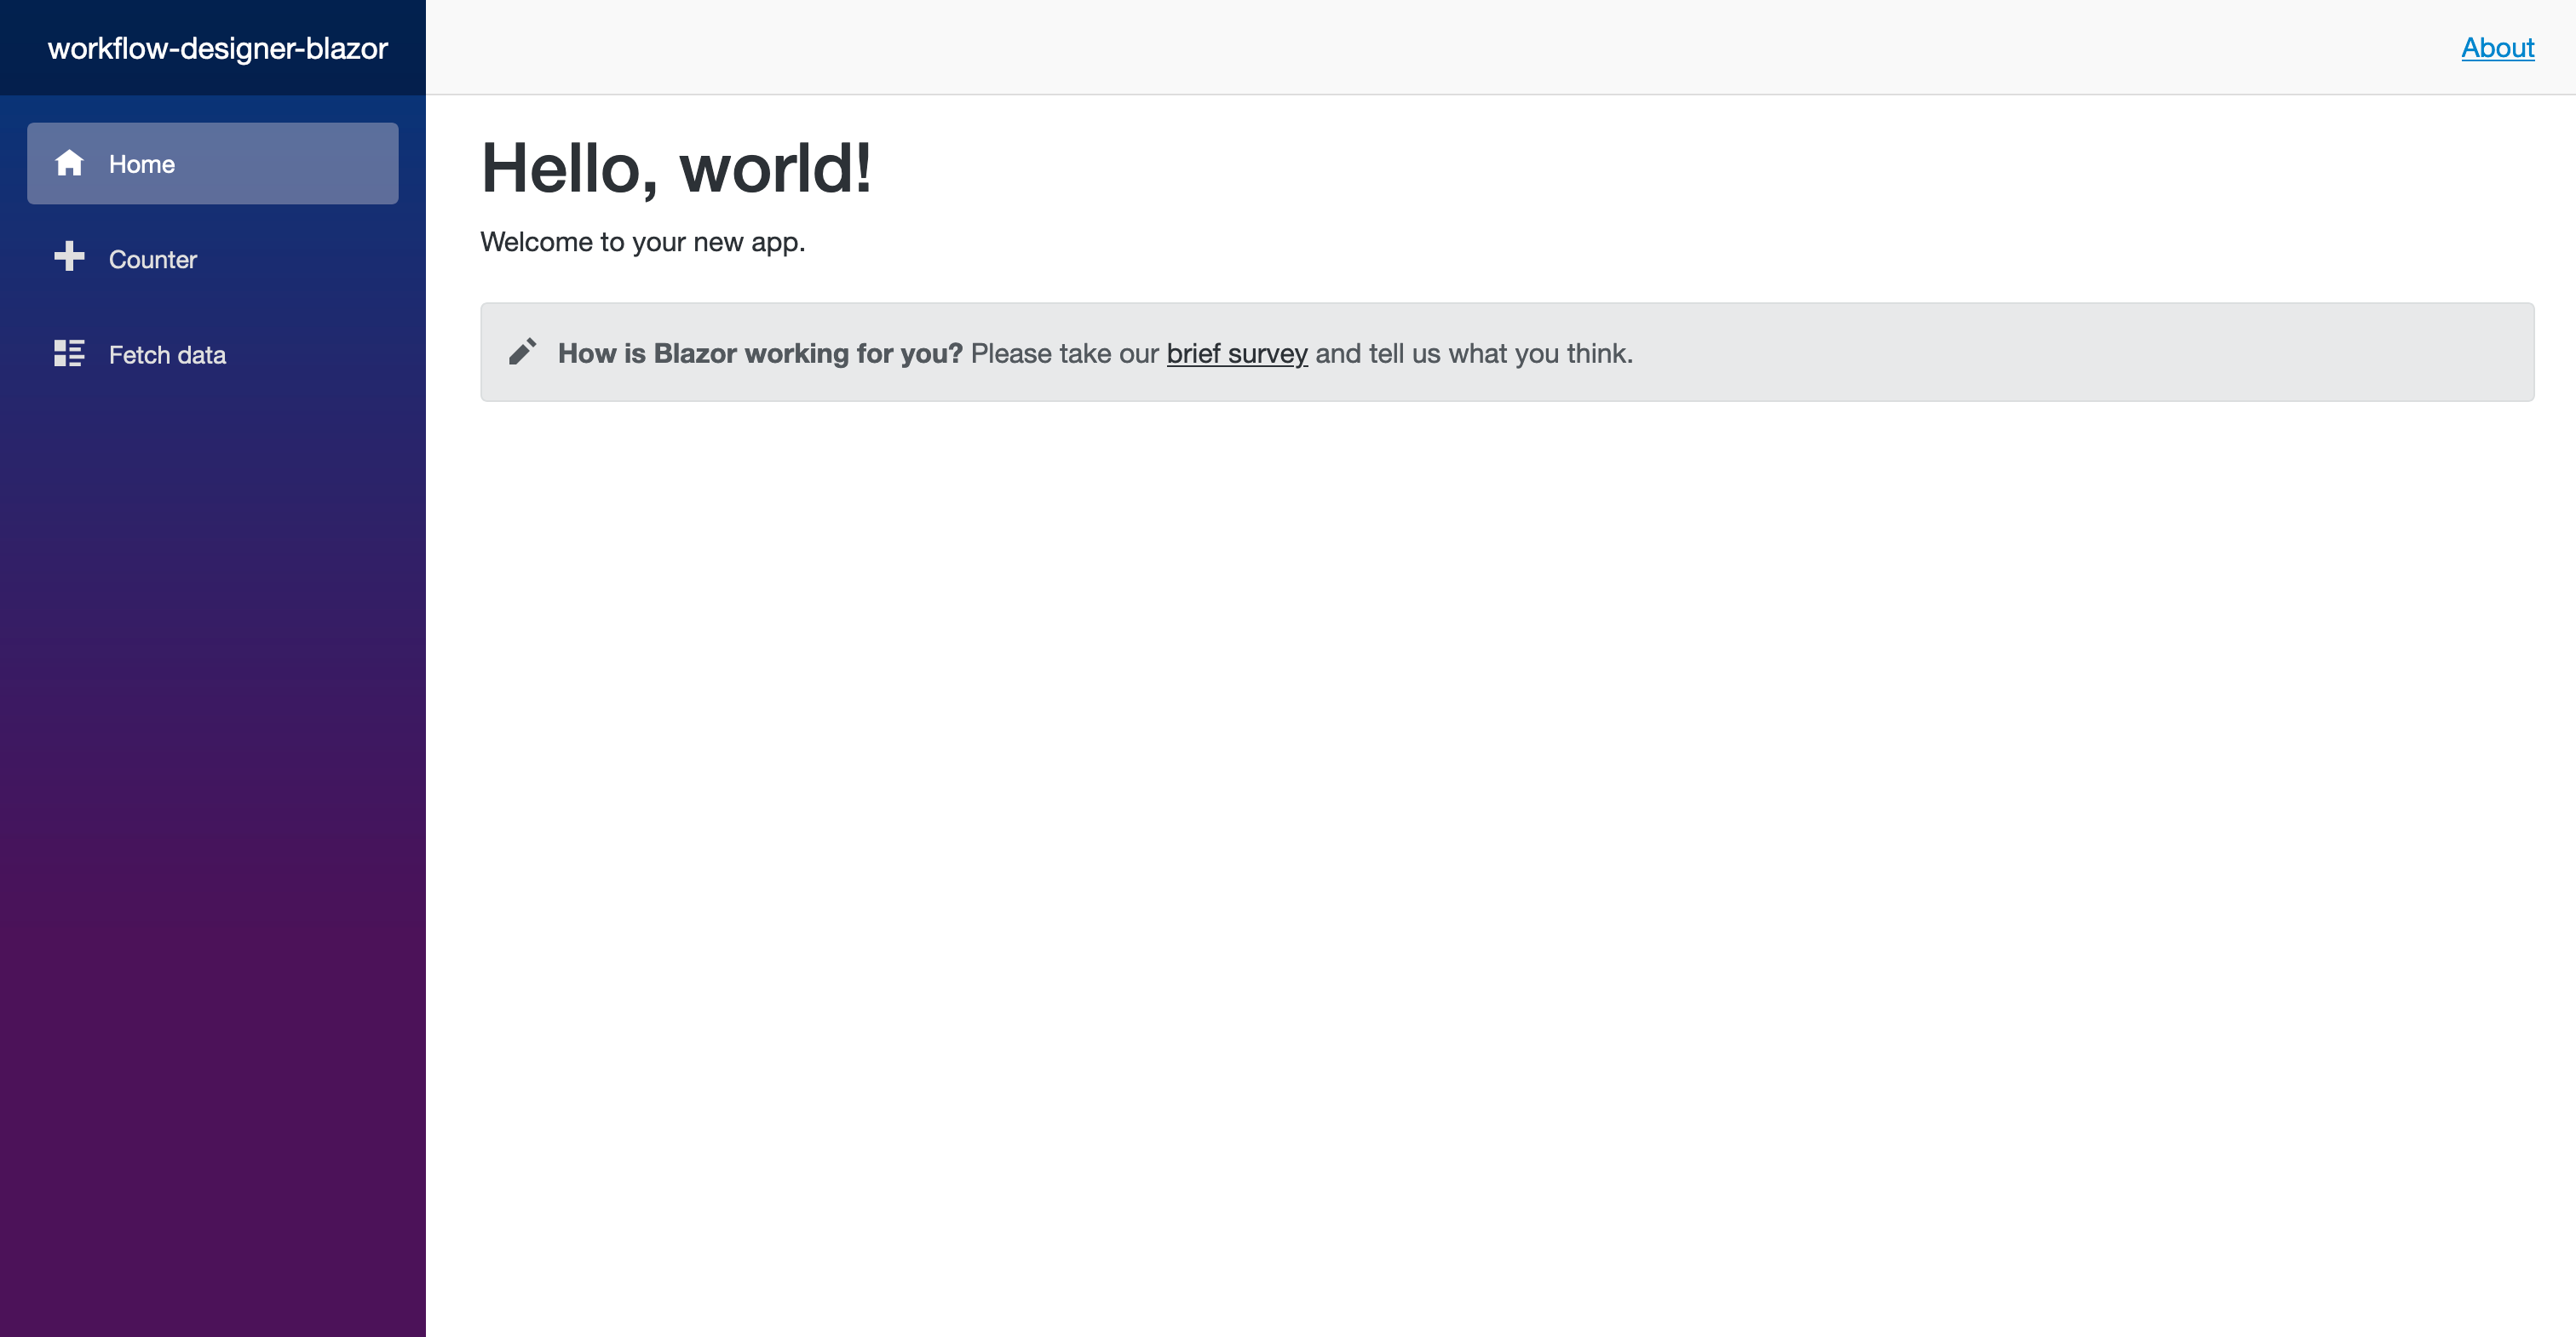
you run the application and open it in a browser, you will see something like this:

What we are going to add:
- CSS and JS files for Workflow Designer from CDN.
- Designer navigation element on the left panel with the corresponding page.
- Workflow Designer on a new Blazor page.
Adding CSS and JS Workflow for Workflow Designer
First, we need to add CSS and JS from Workflow Designer to our application so that we can connect the Designer to a new page. We will also need to connect jQuery, since Workflow Designer uses it in its work.
We will use CDN, just to avoid copying Designer files to the project. Of course, you can use local files instead of CDN, this is especially important when you work in an environment with limited Internet access.
Due to the way Blazor works with JavaScript code, external JavaScript code must be included after the script blazor.server.js.
Open the Pages/_Host.cshtml file and add the highlighted lines as shown below. Styles are added inside the <head> tag, scripts are added
to the end of the page.
@page "/"
@using Microsoft.AspNetCore.Components.Web
@namespace workflow_designer_blazor.Pages
@addTagHelper *, Microsoft.AspNetCore.Mvc.TagHelpers

<!DOCTYPE html>
<html lang="en">
<head>
    <meta charset="utf-8"/>
    <meta name="viewport" content="width=device-width, initial-scale=1.0"/>
    <base href="~/"/>
    <link rel="stylesheet" href="css/bootstrap/bootstrap.min.css"/>
    <link href="css/site.css" rel="stylesheet"/>
    <link href="workflow-designer-blazor.styles.css" rel="stylesheet"/>
    <link rel="stylesheet" href="https://unpkg.com/@@optimajet/workflow-designer@12.5.1/dist/workflowdesigner.min.css">
    <link rel="icon" type="image/png" href="favicon.png"/>
    <component type="typeof(HeadOutlet)" render-mode="ServerPrerendered"/>
</head>
<body>
<component type="typeof(App)" render-mode="ServerPrerendered"/>

<div id="blazor-error-ui">
    <environment include="Staging,Production">
        An error has occurred. This application may no longer respond until reloaded.
    </environment>
    <environment include="Development">
        An unhandled exception has occurred. See browser dev tools for details.
    </environment>
    <a href="" class="reload">Reload</a>
    <a class="dismiss">🗙</a>
</div>

<script src="_framework/blazor.server.js"></script>
<script
        src="https://code.jquery.com/jquery-3.7.1.min.js"
        integrity="sha256-/JqT3SQfawRcv/BIHPThkBvs0OEvtFFmqPF/lYI/Cxo="
        crossorigin="anonymous"></script>
<script src="https://unpkg.com/@@optimajet/workflow-designer@12.5.1/dist/workflowdesignerfull.min.js"
        async defer>
</script>
<script src="js/designerInterop.js"></script>
</body>
</html>
Now the Workflow Designer with its styles will be loaded in our application.
Pay attention to the file js/designerInterop.js. This is a file that will contain auxiliary functions for working with the Designer.
Let's create it in the wwwroot/js/designerInterop.js path:
function renderWorkflowDesigner(options) {
    var wfdesigner = new WorkflowDesigner({
        apiurl: options.apiUrl,
        name: 'wfe',
        language: 'en',
        renderTo: options.elementId,
        graphwidth: window.innerWidth - 400,
        graphheight: window.innerHeight - 100,
        showSaveButton: true,
    })

    const data = {
        schemecode: options.schemeCode,
        processid: options.processId
    }

    if (wfdesigner.exists(data)) {
        wfdesigner.load(data)
    } else {
        wfdesigner.create(data.schemecode)
    }
}

function waitForJsAndRender(options) {
    if (typeof window.WorkflowDesigner !== 'undefined') {
        renderWorkflowDesigner(options)
        return
    }

    // the interval here is only needed to wait for the javascript to load with the designer
    const interval = setInterval(() => {
        // if the designer hasn't been uploaded yet, we'll wait a little longer
        if (typeof window.WorkflowDesigner === 'undefined') return

        clearInterval(interval)
        renderWorkflowDesigner(options)
    }, 30)
}
There are only two functions in the file:
renderWorkflowDesigner- renders the Designer with the specified options.waitForJsAndRender- waits for JavaScript to load with the Designer and calls the Designer's render. We need this function because the Designer loads asynchronously after the page loads.
Adding a new page
Open the Shared/NavMenu.razor file and add the highlighted lines after the Fetch data navigation link.
<div class="@NavMenuCssClass nav-scrollable" @onclick="ToggleNavMenu">
    <nav class="flex-column">
        <div class="nav-item px-3">
            <NavLink class="nav-link" href="" Match="NavLinkMatch.All">
                <span class="oi oi-home" aria-hidden="true"></span> Home
            </NavLink>
        </div>
        <div class="nav-item px-3">
            <NavLink class="nav-link" href="counter">
                <span class="oi oi-plus" aria-hidden="true"></span> Counter
            </NavLink>
        </div>
        <div class="nav-item px-3">
            <NavLink class="nav-link" href="fetchdata">
                <span class="oi oi-list-rich" aria-hidden="true"></span> Fetch data
            </NavLink>
        </div>
        <div class="nav-item px-3">
            <NavLink class="nav-link" href="designer">
                <span class="oi oi-copywriting" aria-hidden="true"></span> Designer
            </NavLink>
        </div>
    </nav>
</div>
Now add a new file Pages/Designer.razor and paste the following content there:
@page "/designer"
@inject IJSRuntime JSRuntime

<PageTitle>Workflow designer</PageTitle>

<div id="root"></div>

@code
{
    protected override async Task OnAfterRenderAsync(bool firstRender)
    {
        if (firstRender)
        {
            var options = new
            {
                apiUrl = "https://demo.workflowengine.io/Designer/API",
                elementId = "root",
                schemeCode = "SimpleWF"
            };
            await JSRuntime.InvokeAsync<Task>("waitForJsAndRender", options);
        }
    }
}
Everything is quite simple here. There is a div element on the page with the id root. When the page is first rendered, in the
OnAfterRenderAsync method, we call a JavaScript function called waitForJsAndRender, passing in options as parameters.
In the parameters we pass:
elementId- the identifier of the HTML element in which Designer should be drawn.apiUrl- the URL where Designer's API is located.schemeCode- the scheme code.
Launching the application
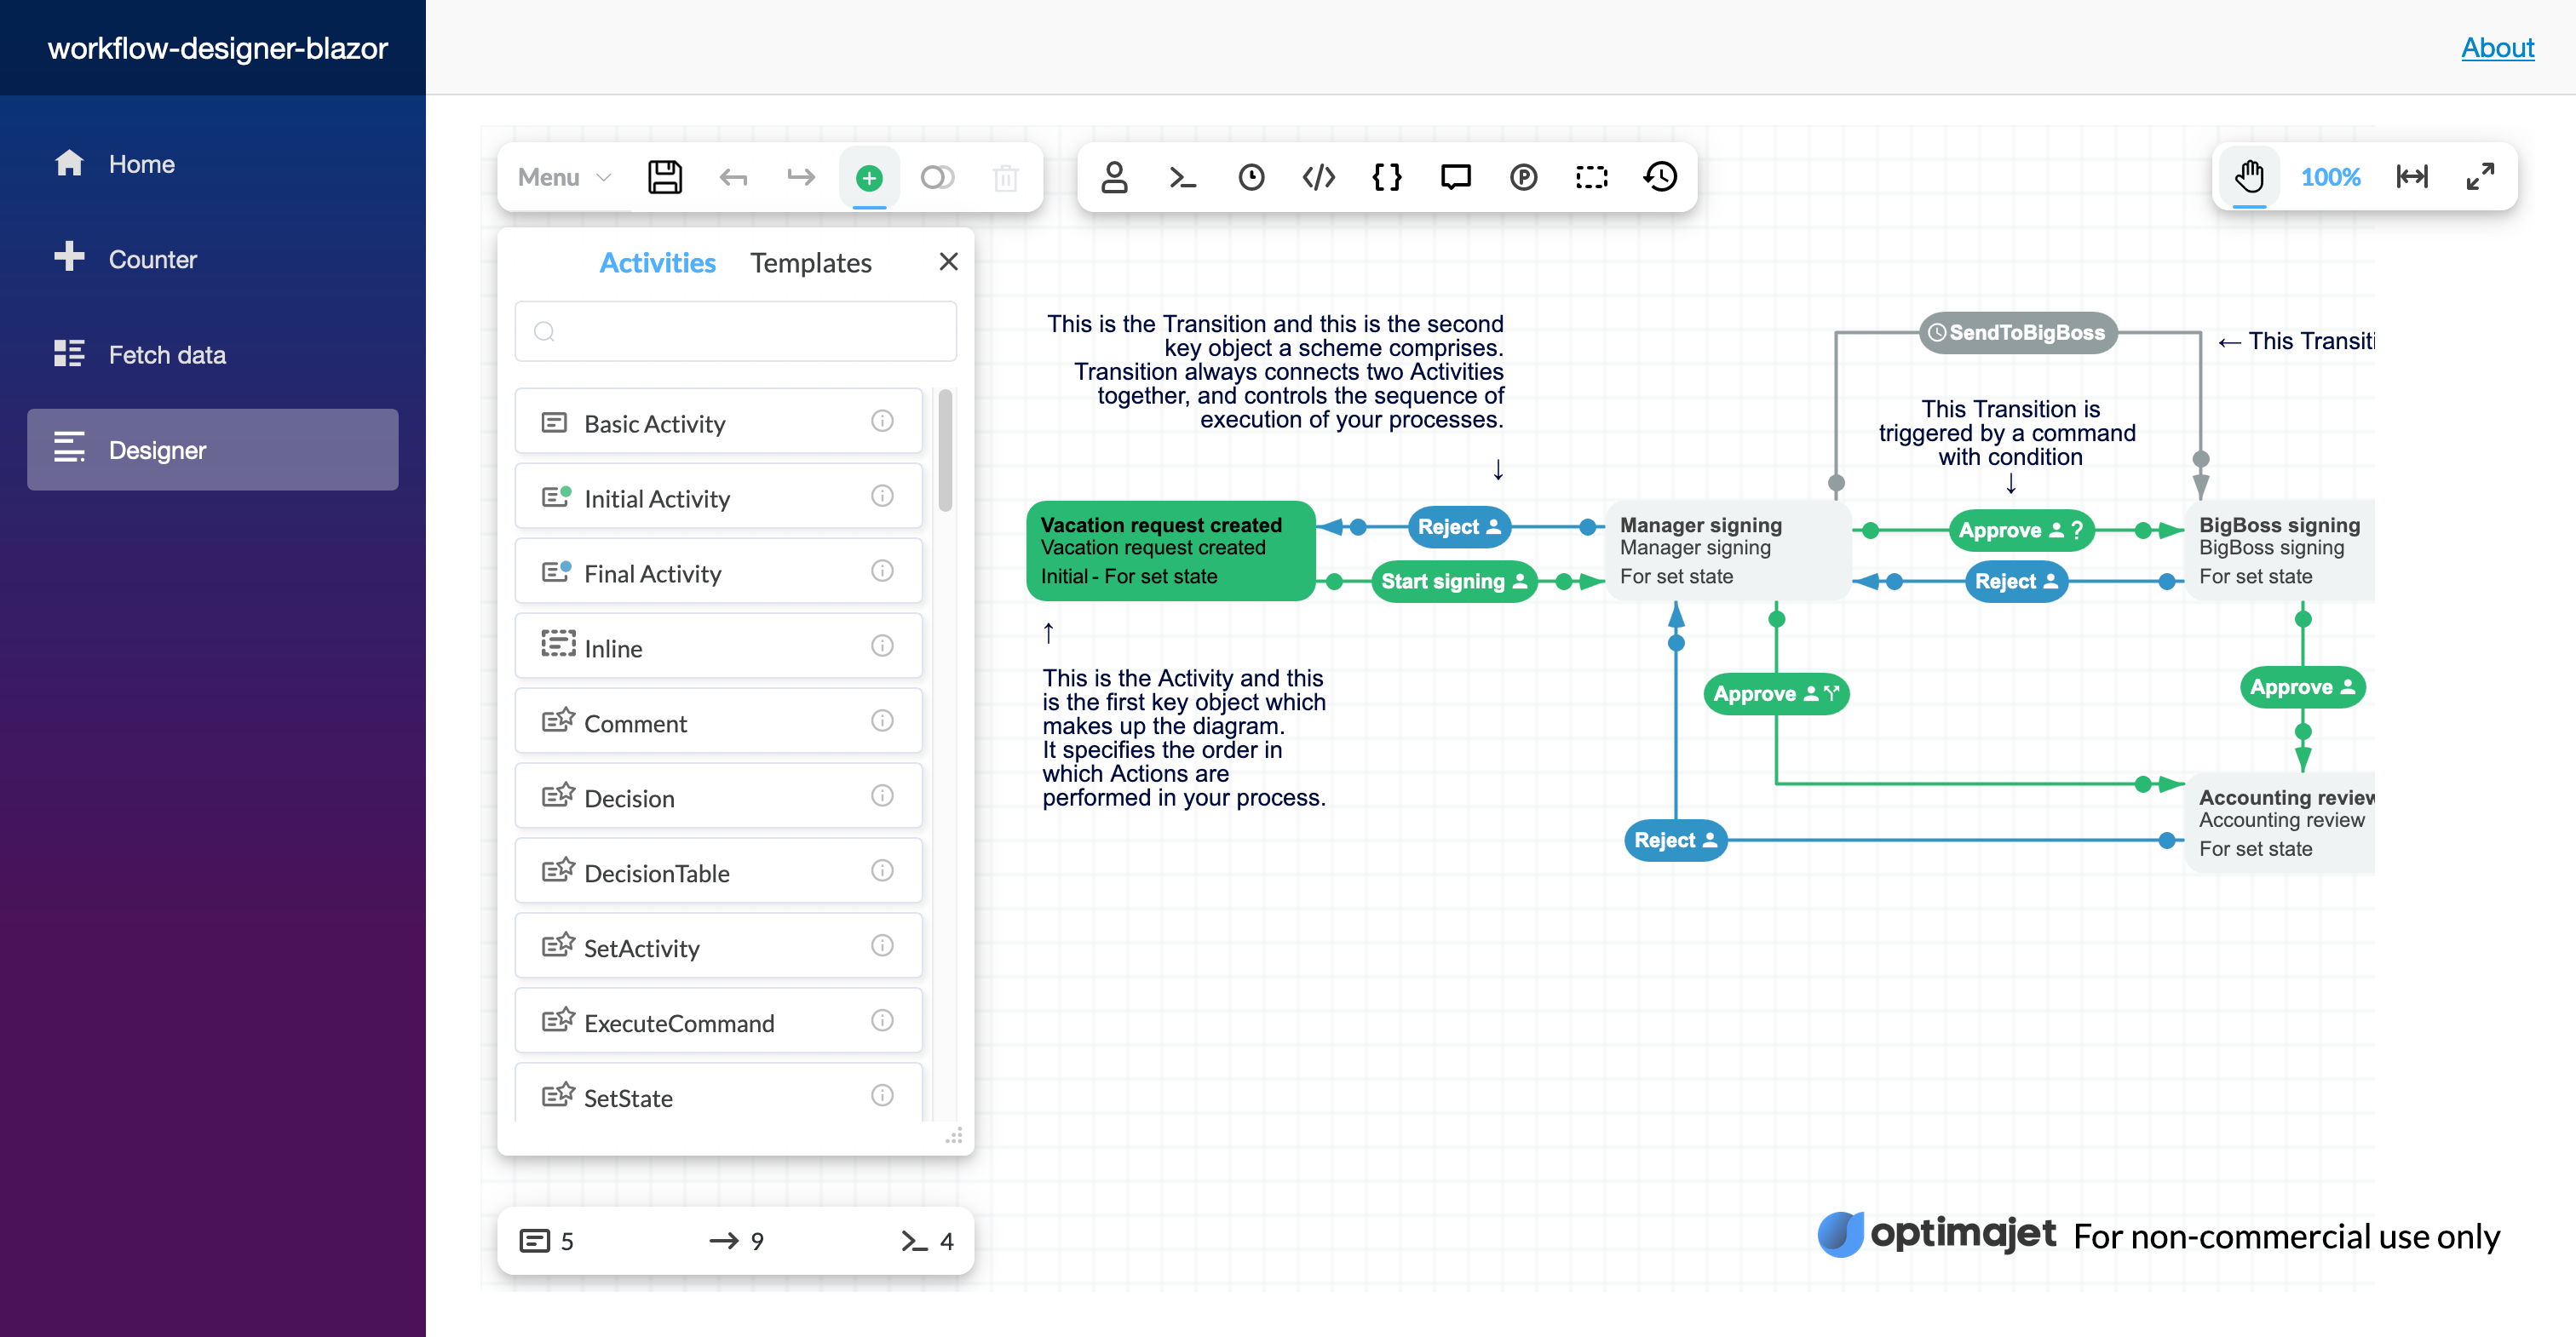
Now you can run your application using the dotnet run or dotnet watch command. After that, open your browser and navigate to a new page
where you should see Workflow Designer.

Conclusion
We have added Workflow Designer to our Blazor application by including a script from a content delivery network (CDN). To work with the designer, we used the JavaScript interop mechanism. It was quite easy!